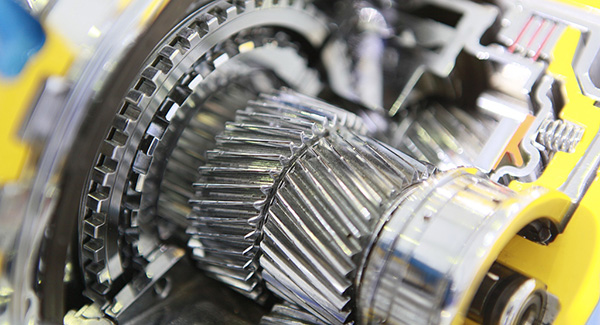
The engine and transmission are the main components of the powertrain and the most important and complex part of the entire automotive component, equivalent to the heart and the human body. Therefore, a well-planned powertrain measurement solution is critical to ensuring the quality and performance of the powertrain and even the entire vehicle. Measurements for the powertrain field generally show the following characteristics:
High precision requirements
High measurement frequency
Fixation positioning repeatability, rapidity
Temperature change control
Data processing: cg&cgk, GR&R
One of the difficulties in measurement: the measurement of the valve seat
The main components of the assembly are basically divided into a cylinder block, a cylinder head, a crankshaft, a camshaft, a piston, a connecting rod, an intake manifold, and an exhaust manifold. Among them, there are many measurement items such as cylinder heads such as cylinder heads. The powertrain inspection program revolves around the core of the evaluation. All factors affecting the evaluation results must be considered comprehensively: clamping, stylus, measuring machine, temperature, measuring position, measuring points, measuring speed... Generally speaking, power-oriented The measurement of the assembly includes both on-line and metering chamber types.
Online measurement plan:
Through the sampling inspection, the manufacturing quality of high-speed and high-volume powertrain components is monitored online, and plays an important role in production line acceptance, equipment capability verification and various production adjustments. On-site in-line powertrain inspection solutions using the GlobalSilver series of measuring machines are favored by users. The program features: high precision, matching the high efficiency of the powertrain production cycle, integrated high-efficiency positioning fixture, loading and unloading and integrated easy-to-operate cabinet system; dust-proof temperature control hood adapted to the workshop environment, machine temperature compensation technology, Workshop site safety protection technology and uninterrupted operation performance.
In view of the real-time monitoring of the processing trend of the powertrain mass production line, the m&h in-machine measurement link is added to the powertrain processing technology, and the machining fixture is automatically corrected by the machine, and the machining parameters are automatically compensated according to this, and at the same time, the tool is detected in the machine. And to compensate for the wear value, not only improve the quality of the process, but also effectively avoid the bad processing trend.
Metering room type measurement plan:
The highest evaluations in the R&D phase and in the product approval phase require more rigorous quality testing and analysis. The high-performance Leitz series of ultra-precision measuring machines and gear measuring centers, in addition to the ability to perform standard geometric measurements (such as cylinders, gearboxes, etc.), can also perform measurement tasks on any special geometry workpiece, such as cams. The shaft, turbine, screw compressor rotor, etc., Leitz measuring machine can also complete the calibration task of some standard gauges, which makes Leitz ultra-high precision measuring machine the first choice for powertrain manufacturers worldwide.
There are many rotating shaft components on the powertrain, such as valves, engine spindles, brake systems, fuel injection systems, etc. These components are small in size, with diameters, angular jumps, groove widths, The size of the fillet is dominant. The TESASCAN shaft type part detector, which integrates various photoelectric measuring system functions, is specially used for non-contact measurement of rotary parts, and realizes the outer diameter and roundness of shaft parts with measuring sizes from 0.25mm to 80mm and lengths up to 500mm. High-speed, high-precision measurement of bounce, concentricity, length, angle, R arc, and thread.
